
Replacing a roof yourself can save money, but it’s a complex and potentially dangerous job. This comprehensive guide will walk you through every step, from assessing your roof’s condition to installing the final shingle. We’ll help you determine if DIY is the right choice for you and provide the knowledge you need to succeed if you decide to proceed. But remember, safety is paramount, and professional roofing services are always an option. If you need expert assistance, call us today!
Is DIY Roof Replacement Right for You?
Replacing a roof is a significant undertaking. It requires physical strength, technical skills, and a considerable time investment. While DIY can save you money on labor costs, it’s crucial to be realistic about your abilities and the potential risks involved.
Here’s what to consider:
- Your Skill Level: Are you comfortable working at heights? Do you have experience with basic carpentry and construction? Can you follow detailed instructions and troubleshoot problems?
- Physical Condition: Roofing is physically demanding. You’ll be lifting heavy materials, climbing ladders, and working in potentially extreme weather conditions.
- Time Commitment: A roof replacement can take several days or even weeks, depending on the size and complexity of your roof.
- Safety: Roofing is dangerous. Falls are a major cause of injury and death in the construction industry.
- Warranty: A DIY roof replacement may void the manufacturer’s warranty on the roofing materials.
If you’re unsure about any of these factors, it’s best to err on the side of caution and call us for a professional assessment.
Planning Your Roof Replacement Project
Proper planning is crucial for a successful DIY roof replacement. This includes assessing your roof’s condition, understanding local building codes and permits, taking essential safety precautions, and gathering the right tools and equipment.
Assessing Your Roof’s Condition
Before you even consider replacing your roof, you need to thoroughly inspect it for damage. Look for:
- Missing or damaged shingles: These are obvious signs of a problem.
- Curling or buckling shingles: This indicates that the shingles are aging and deteriorating.
- Granule loss: This is the small, sand-like material that coats asphalt shingles. Excessive granule loss can shorten the lifespan of your roof.
- Leaks: Water stains on your ceiling or walls are a sign of a leak.
- Sagging roof deck: This is a serious problem that requires immediate attention.
Document your findings with photos and notes. This will help you determine the extent of the damage and the materials you’ll need.
Understanding Local Building Codes and Permits
Most municipalities require a permit for roof replacements. Contact your local building department to find out the specific requirements in your area. This includes obtaining the necessary permits. Failing to obtain the required permits can result in fines and delays.
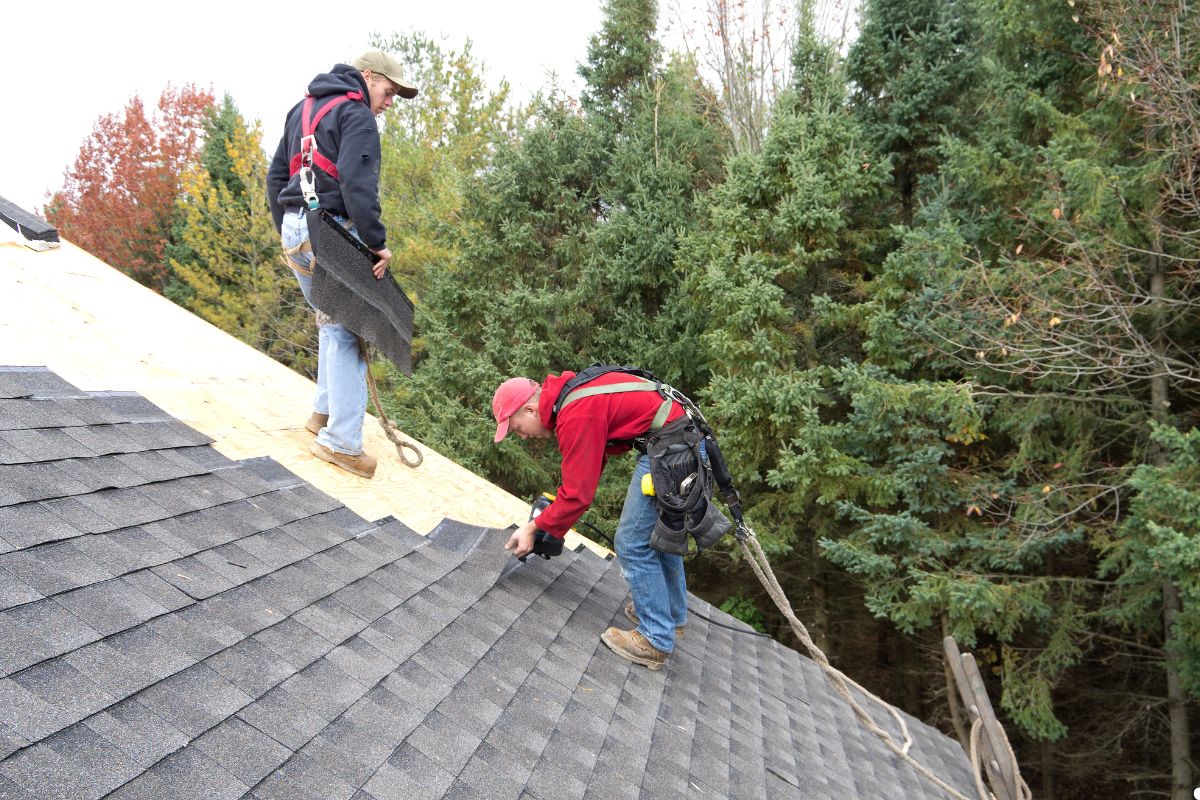
Essential Safety Precautions
Safety should be your top priority. Always wear appropriate safety gear, including:
- Safety glasses: To protect your eyes from debris.
- Work gloves: To protect your hands from cuts and abrasions.
- Roofing boots: With good traction to prevent slips and falls.
- Hard hat: To protect your head from falling objects.
- Safety harness and lifeline: To prevent falls from the roof.
Gathering the Right Tools and Equipment
You’ll need a variety of tools and equipment to replace your roof, including:
- Roofing hammer: For nailing shingles.
- Utility knife: For cutting shingles.
- Pry bar: For removing old shingles.
- Ladder: For accessing the roof.
- Wheelbarrow: For hauling materials.
- Air compressor and nail gun (optional): For faster shingle installation.
Make sure you have all the necessary tools and equipment before you start the project.
Choosing the Right Roofing Materials
The type of roofing material you choose will depend on your budget, aesthetic preferences, and the climate in your area. Here are some of the most common options:
Asphalt Shingles: Pros and Cons
Asphalt shingles are the most popular roofing material in the United States. They are relatively inexpensive, easy to install, and available in a variety of colors and styles. However, they have a shorter lifespan than other roofing materials and are susceptible to wind and hail damage. Consider the pros and cons of before making your decision.
Metal Roofing: Durability and Cost
Metal roofing is a durable and long-lasting option that can withstand harsh weather conditions. It is also energy-efficient, reflecting sunlight and reducing cooling costs. However, metal roofing is more expensive than asphalt shingles and can be more difficult to install.
Tile Roofing: Aesthetics and Longevity
Tile roofing is a beautiful and durable option that can last for decades. It is also fire-resistant and energy-efficient. However, tile roofing is very heavy and requires a strong roof deck. It is also one of the most expensive roofing materials.
Other Roofing Options: Wood, Slate, etc.
Other roofing options include wood shingles, slate, and synthetic materials. Each has its own unique advantages and disadvantages. Research your options carefully to determine which material is right for your home.
Removing the Old Roof
Removing the old roof is a dirty and physically demanding job. But it’s a critical step in the roof replacement process.
Safety First: Preparing the Work Area
Before you start removing the old roof, make sure to prepare the work area. This includes:
- Protecting landscaping: Cover shrubs and plants with tarps to protect them from falling debris.
- Moving vehicles: Move vehicles away from the work area to prevent damage.
- Setting up a dumpster: For disposing of the old roofing materials.
Removing Shingles and Underlayment
Start by removing the shingles one by one. Use a pry bar to lift the shingles and pull out the nails. Be careful not to damage the roof deck. Once all the shingles are removed, remove the underlayment.
Inspecting and Repairing the Roof Deck
After removing the old roofing materials, inspect the roof deck for damage. Look for rotted or damaged wood. Replace any damaged wood before installing the new roof.
Installing the New Roof
Installing the new roof requires precision and attention to detail. Follow the manufacturer’s instructions carefully.
Installing Underlayment and Drip Edge
Start by installing the underlayment. This is a waterproof barrier that protects the roof deck from moisture. Overlap the seams by at least 6 inches. Next, install the drip edge along the eaves and rakes. This will help prevent water from running behind the fascia boards.
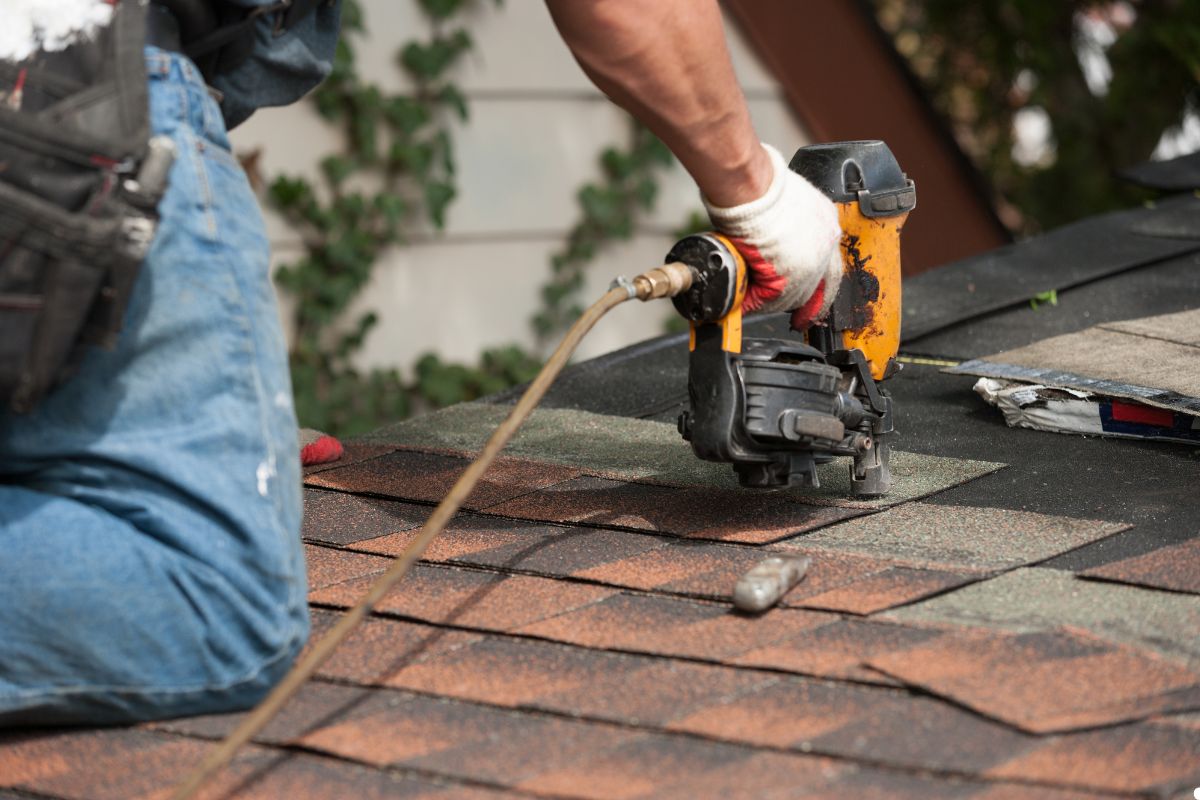
Laying the First Course of Shingles
The first course of shingles is the most important. Make sure it is straight and aligned properly. Use a roofing hammer to nail the shingles in place.
Continuing the Shingle Installation
Continue installing the shingles, overlapping each course according to the manufacturer’s instructions. Be sure to stagger the seams to prevent leaks.
Flashing Around Chimneys and Vents
Flashing is a metal material that is used to seal around chimneys, vents, and other roof penetrations. Install flashing according to the manufacturer’s instructions.
Ridge Cap Installation
The ridge cap is the final piece of the roof. It covers the ridge, which is the highest point of the roof. Install the ridge cap according to the manufacturer’s instructions.
Final Inspection and Cleanup
After the roof is installed, inspect it carefully to make sure everything is properly installed. Clean up the work area and dispose of any leftover materials.
Common DIY Roofing Mistakes (and How to Avoid Them)
Even with careful planning, mistakes can happen. Here are some common DIY roofing mistakes and how to avoid them:
- Improper Nailing: Overdriving or underdriving nails can damage the shingles and cause leaks. Use the correct nailing technique and adjust the air pressure on your nail gun (if using one).
- Incorrect Overlap: Failing to properly overlap the shingles can lead to water damage. Follow the manufacturer’s instructions carefully.
- Poor Flashing Installation: Improperly installed flashing is a major cause of leaks. Make sure the flashing is properly sealed and watertight.
- Ignoring Weather Conditions: Don’t attempt to install a roof in wet or windy conditions.
When to Hire a Professional Roofing Contractor
While DIY roof replacement can save money, there are times when it’s best to hire a professional roofing contractor. This includes:
- Complex Roof Designs: If your roof has a complex design with multiple angles and dormers, it’s best to leave the job to a professional.
- Lack of Experience: If you have no experience with roofing, it’s best to hire a professional.
- Safety Concerns: If you’re uncomfortable working at heights or have any safety concerns, hire a professional.
- Time Constraints: If you don’t have the time to complete the project yourself, hire a professional.
Frequently Asked Questions About DIY Roof Replacement
How much does it cost to replace a roof yourself?
The cost of a DIY roof replacement depends on the size of your roof, the type of roofing material you choose, and the cost of tools and equipment. Generally, you can save money on labor costs, but you’ll need to factor in the cost of materials and equipment. Get an accurate estimate for your DIY roof replacement—factor in materials, tools, and savings on labor. Contact us today for expert guidance!
How long does a DIY roof replacement take?
A DIY roof replacement can take several days or even weeks, depending on the size and complexity of your roof. Be prepared to dedicate a significant amount of time to the project.
Do I need a permit to replace my roof?
Most municipalities require a permit for roof replacements. Contact your local building department to find out the specific requirements in your area. You may reach out at Tom The Roofer to get detailed information on roof replacements.
Is DIY Roof Replacement Worth It?
DIY roof replacement can be a rewarding experience, but it’s not for everyone. Weigh the pros and cons carefully before deciding if it’s the right choice for you. Remember to prioritize safety and follow all instructions carefully. If you’re unsure about any aspect of the project, it’s always best to consult with a professional roofing contractor. Call us today for expert advice and assistance!